
For this week, we were introduced to texturing in Maya and different techniques to get a specific effect such as a see-through glass.
We talked about how to texture polygon objects inside Maya without having to take a snapshot of the UV map of the object and opening it in Photoshop to draw on it. However, another way to put a texture on the object is by simply going on Photoshop (which we will look at later) and drawing your texture and making sure that it tiles by making it seamless.
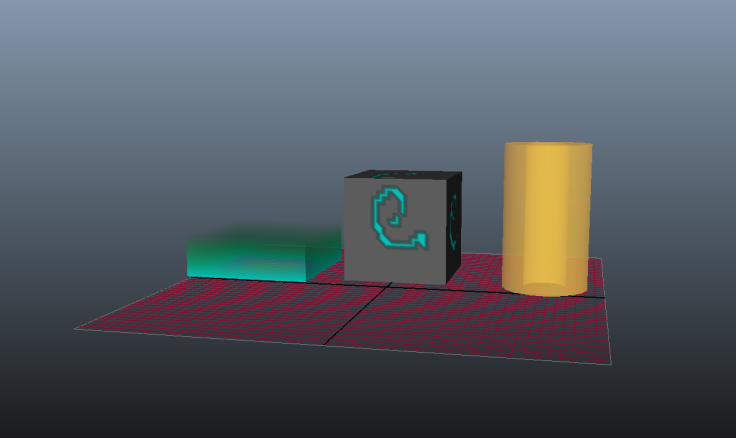
Below are the examples of textured objects made in Maya by assigning the objects a material, in this case, a lambert (matte) or a phong (shiny) and changing the colours, transparency, ambience and incandescence.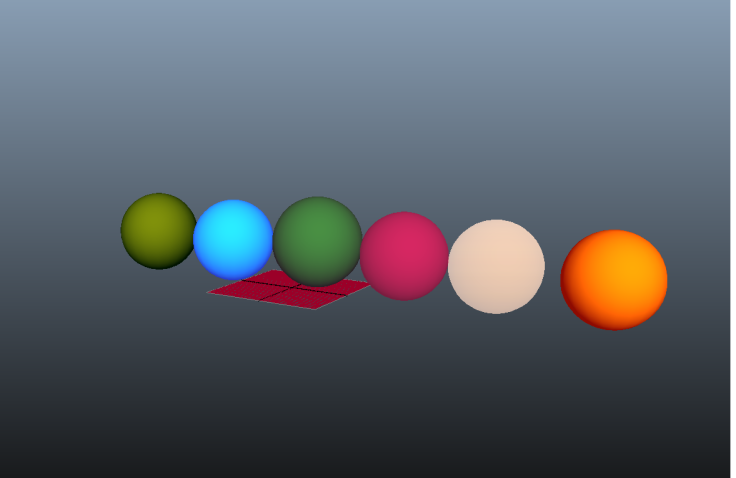
The picture below have been created using the tab Colour, and clicking Apply Colour box to open up the settings to assign the colour and clicking alpha to make it transparent to give the appearance of fire or aurora borealis fading into nothing by using vertex shading. We can also draw on a polygon object in Maya (I just cant seem to remember how it goes without opening Maya).
The objects below are called sprites and are used to add minor details such as grass or particles in a scene. These were done in Photoshop and assigning a material to the plane polygon to put the sprite (texture) on it and as you will be able to tell, these were done in a hurry.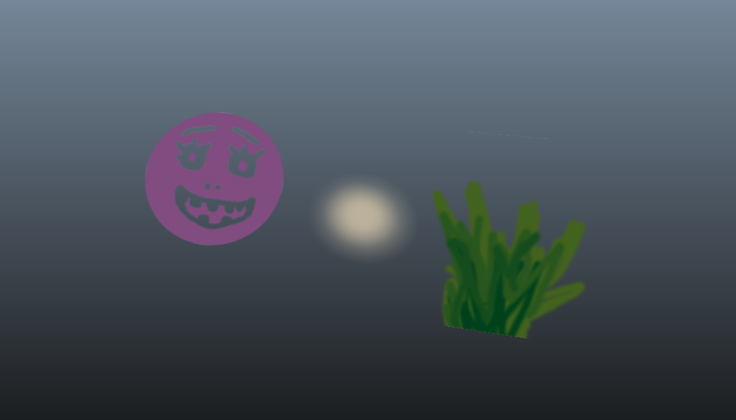

Leave a comment